In the competitive retail landscape, generic displays fade into the background—your product deserves a custom corrugated display that grabs attention, guides shoppers, and amplifies your brand. A well-executed custom display isn't just a structure; it's a strategic in-store marketing tool that turns browsers into buyers. But how do you translate ideas into a durable, visually striking, and high-performing display? At Kingwin, 16 years of engineering custom corrugated solutions have refined our process into a proven framework. This step-by-step playbook walks you through designing a display that delivers measurable results.
- Step 1: Align on Goals, Audience, and Retail Context
- Step 2: Conceptualize Structure & Functionality
- Step 3: Select Materials for Durability & Brand Fit
- Step 5: Finalize Diecut lines & Technical Specifications
- Step 6: Prototype, Test, and Refine
- Step 7: Produce, Kit, and Deliver
- Ready to Bring Your Custom Corrugated Display to Life?
Step 1: Align on Goals, Audience, and Retail Context
Before drafting designs, ground your project in clarity—this ensures every choice serves your business objectives:
- Define Core Objectives: Are you launching a new product, driving seasonal sales, clearing inventory, or boosting brand awareness? Each goal demands a different design focus (e.g., product visibility for launches, urgency messaging for clearance).
- Know Your Shopper: What's your target demographic? A display for teen skincare needs bold graphics and interactive elements, while luxury home goods require understated elegance and premium finishes. Consider shopping habits (e.g., quick impulse buys vs. deliberate research) to shape functionality.
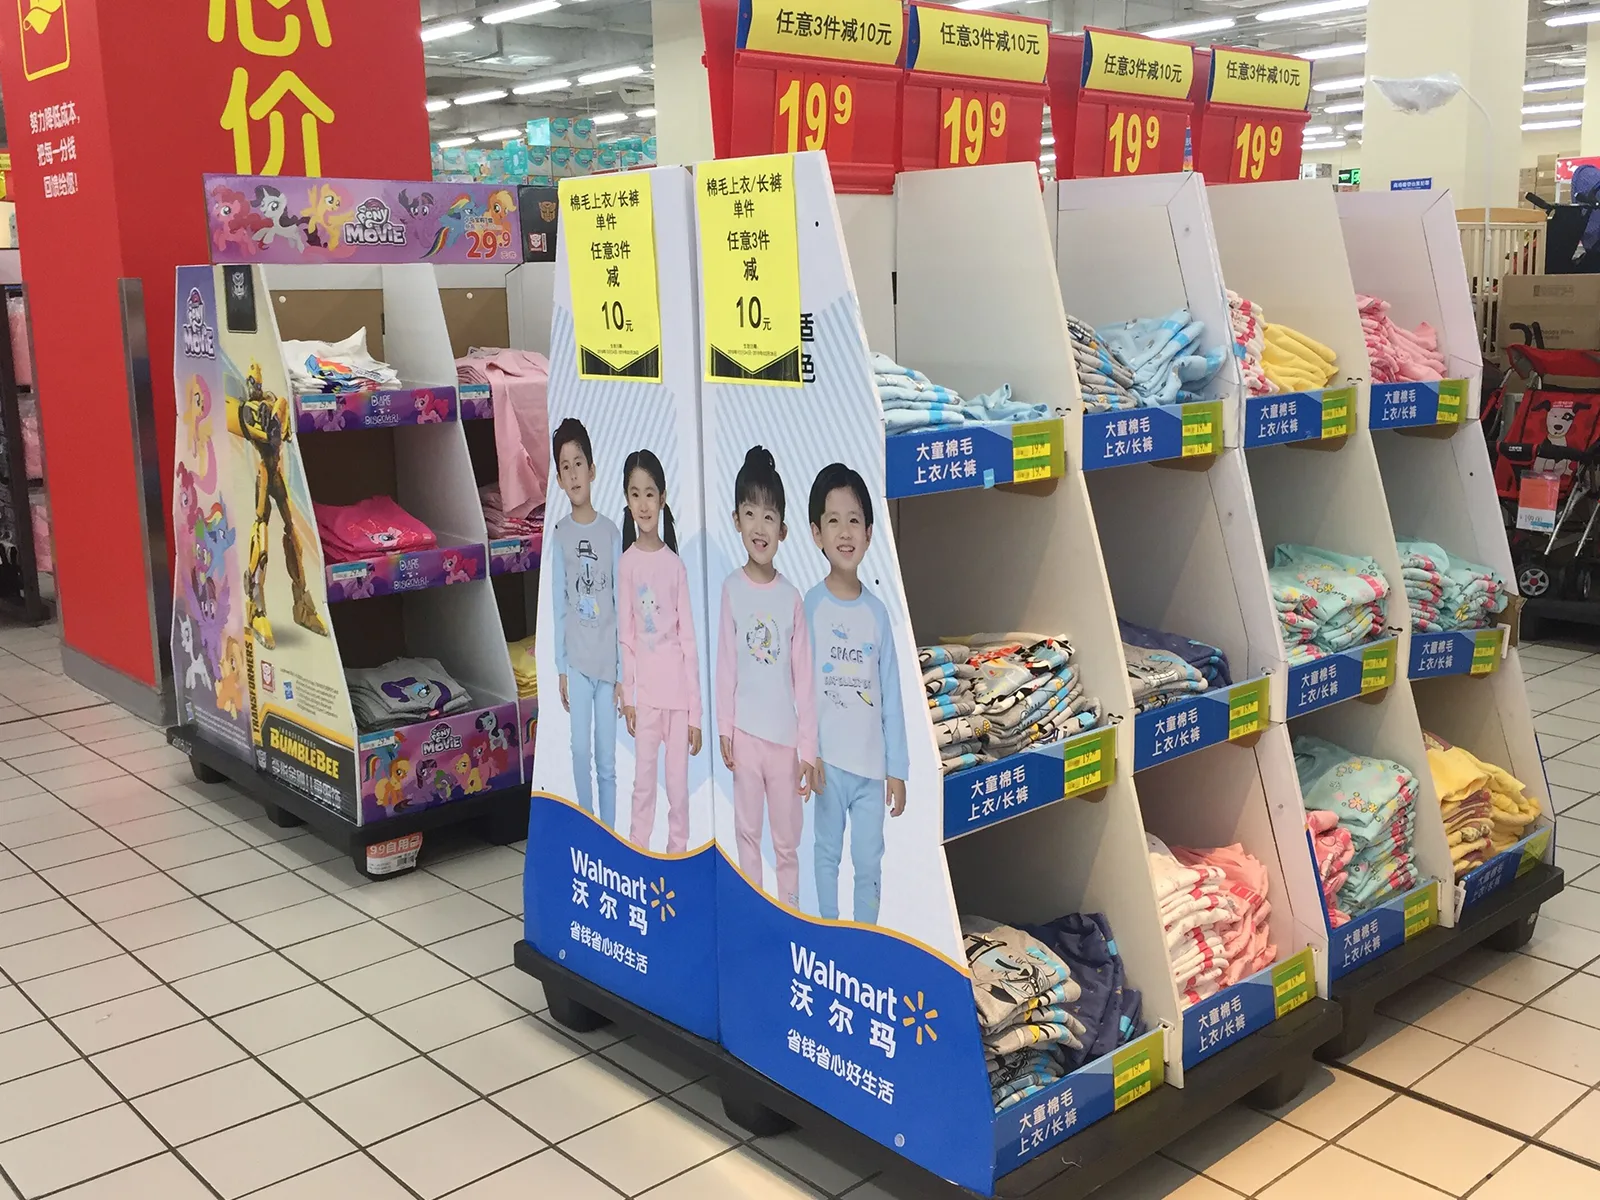
- Map the Retail Environment: Where will the display live? Measure shelf space, floor dimensions, or countertop area to avoid size mismatches. Note constraints (e.g., no electrical outlets for lighting, high-moisture zones) and opportunities (e.g., high-traffic aisles for floor displays).
Pro Tip: Share retail partner guidelines (e.g., Walmart's packaging specs, Amazon FBA requirements) early—this prevents costly reworks later.
Step 2: Conceptualize Structure & Functionality
Turn goals into a tangible design blueprint by focusing on how the display will perform in-store:
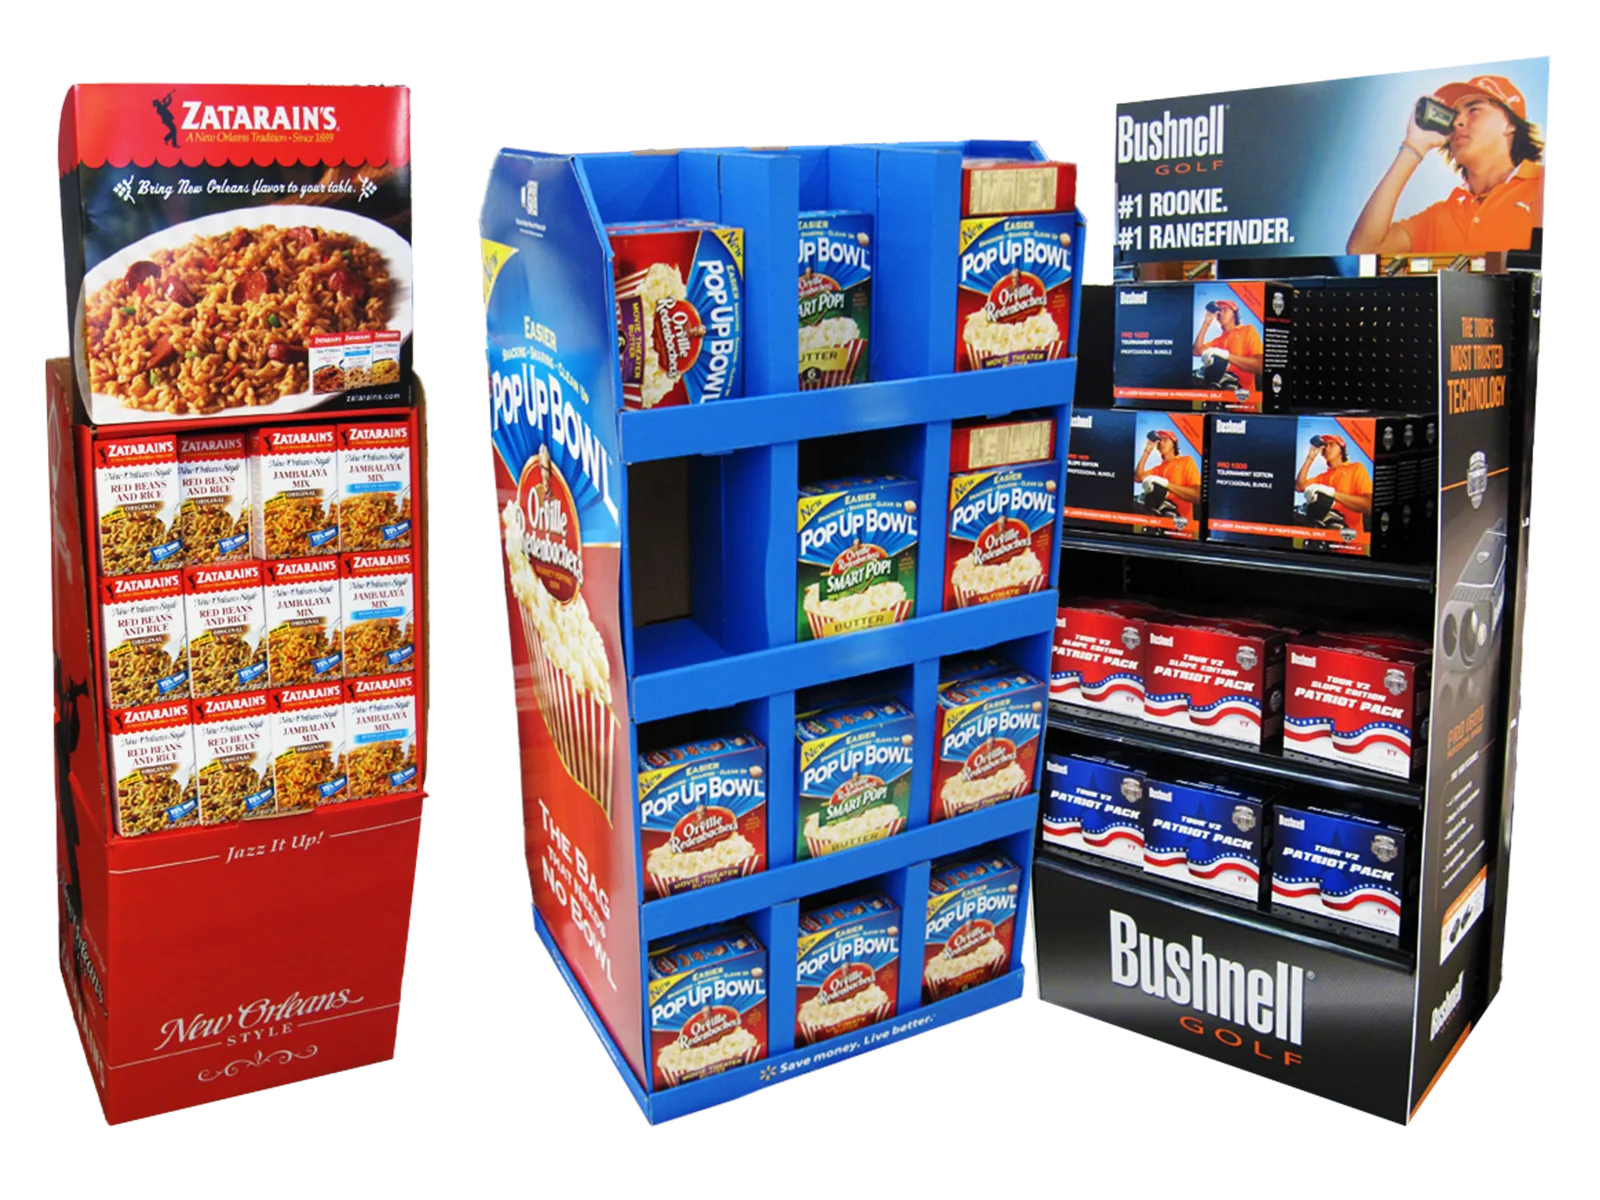
1) Choose Display Type: Select the format that fits your needs:
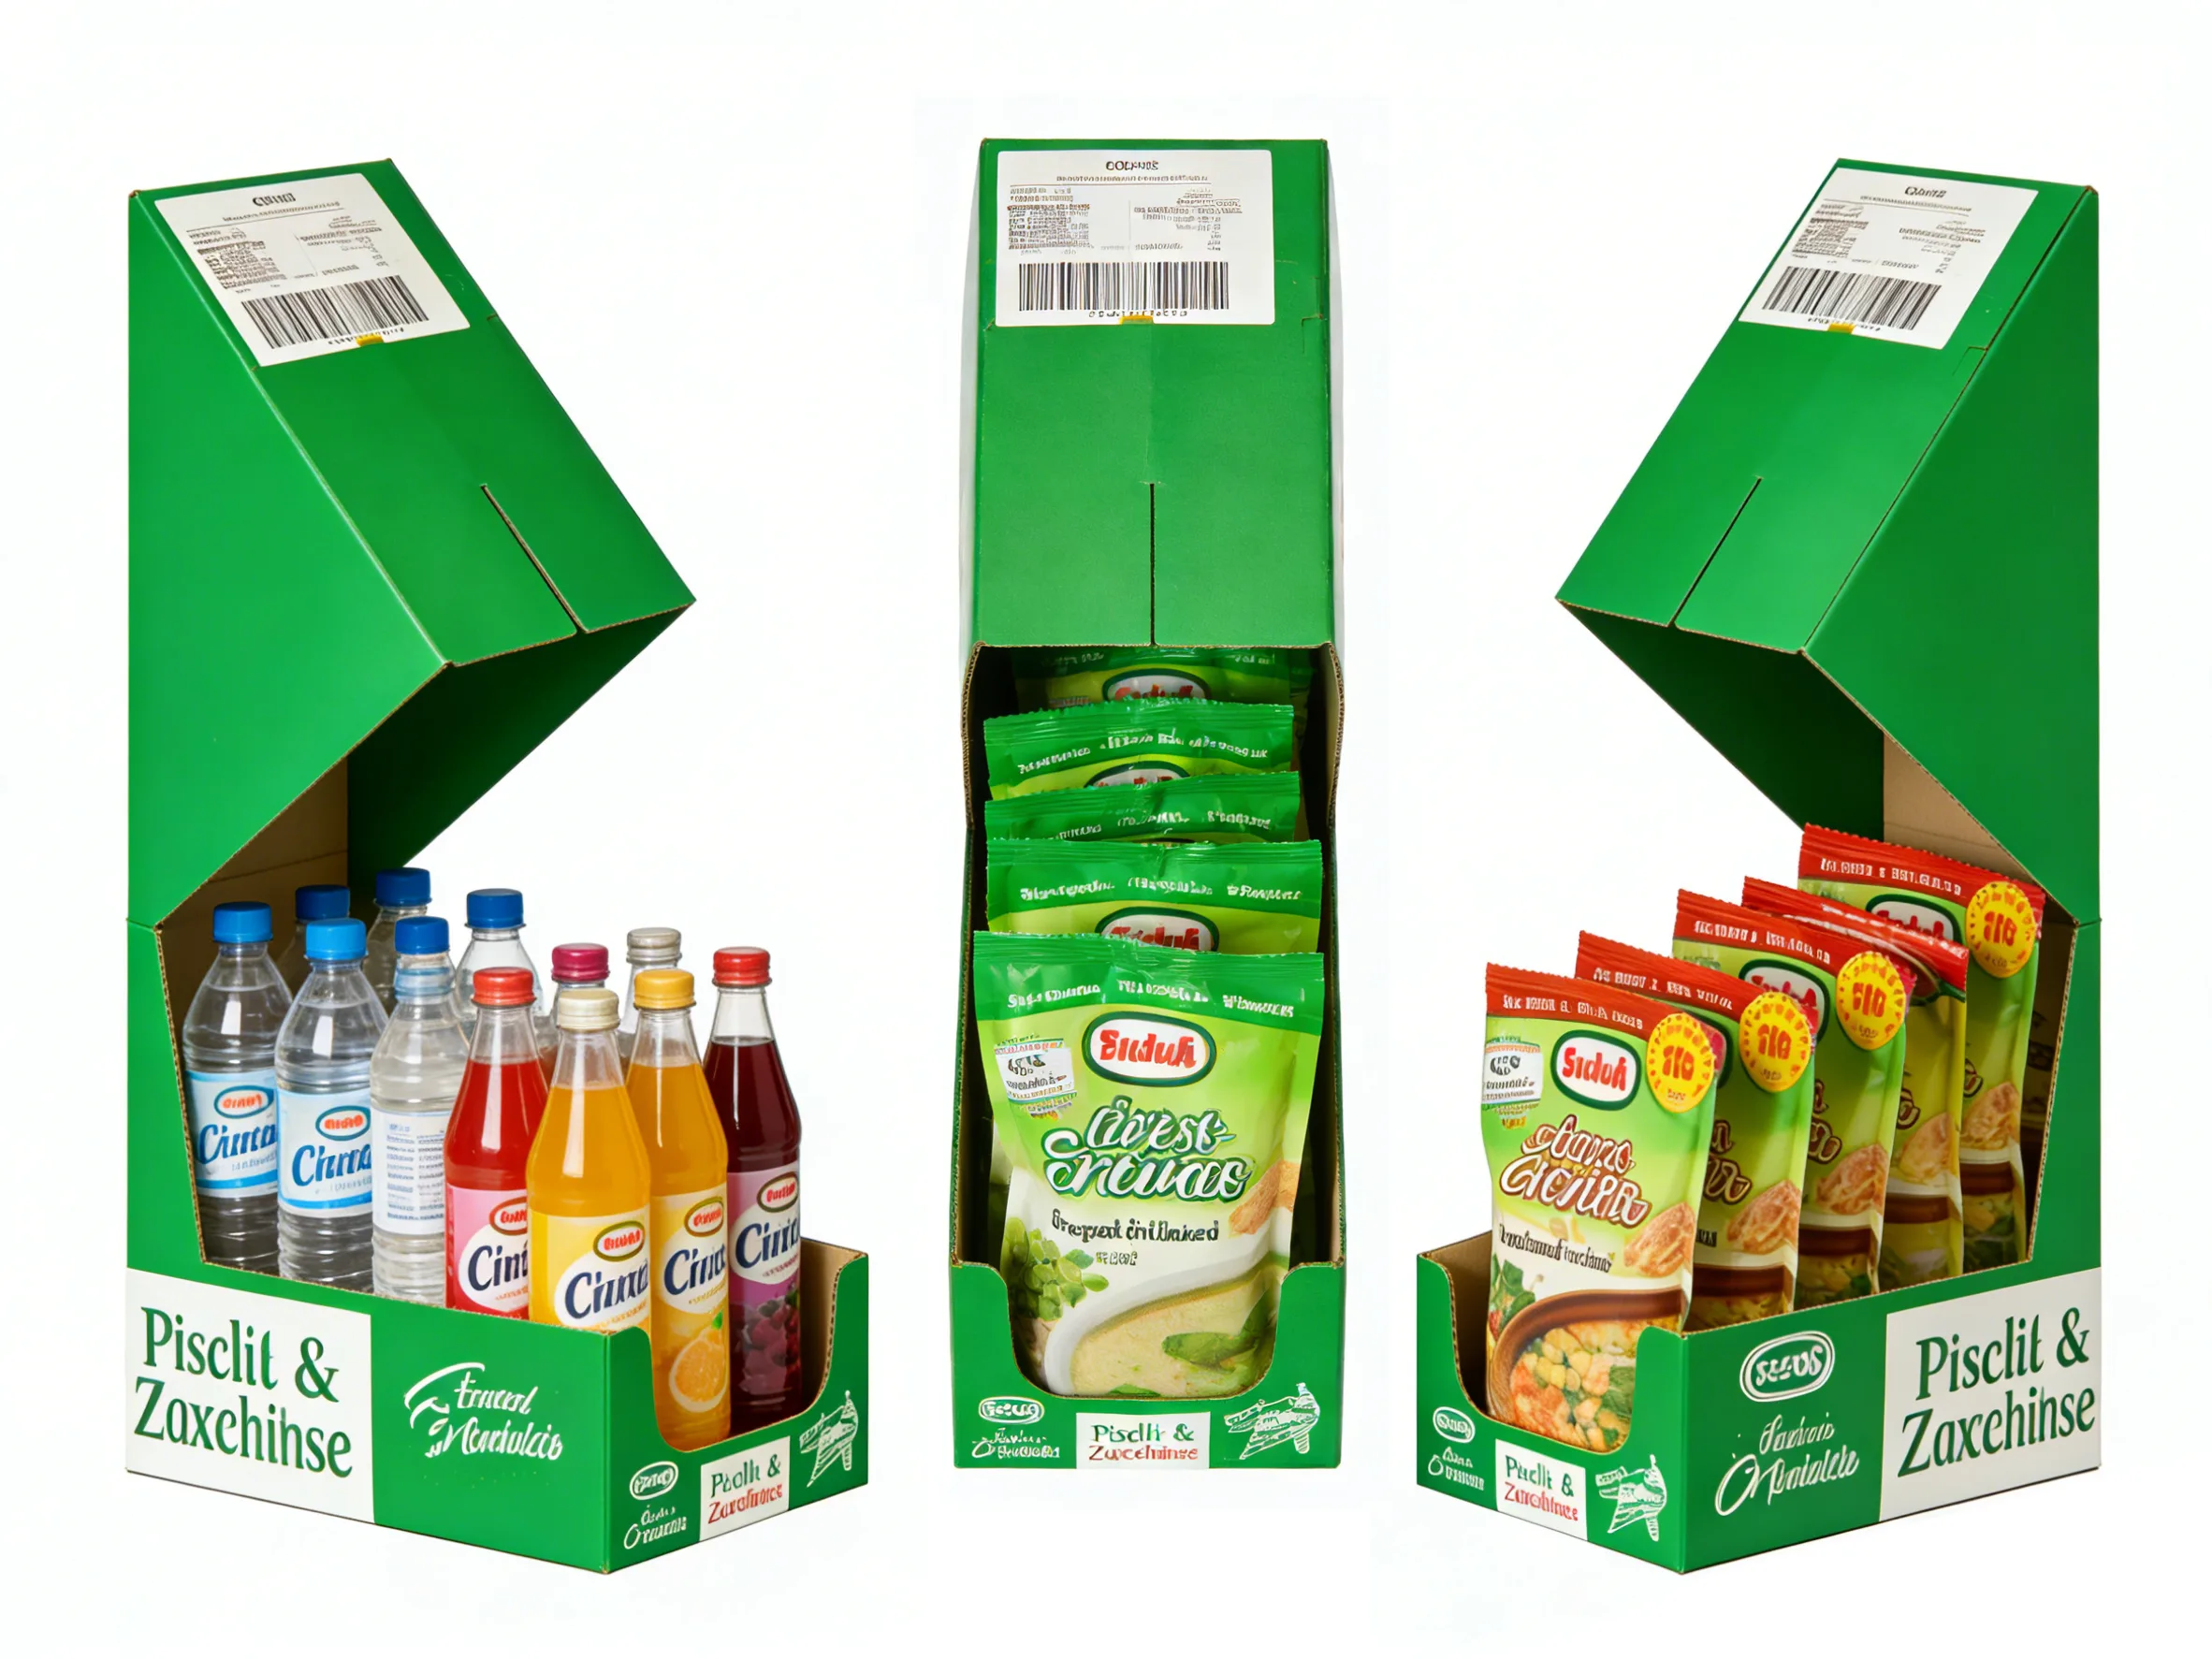
Countertop displays: Compact, ideal for impulse buys (e.g., snacks, beauty minis).
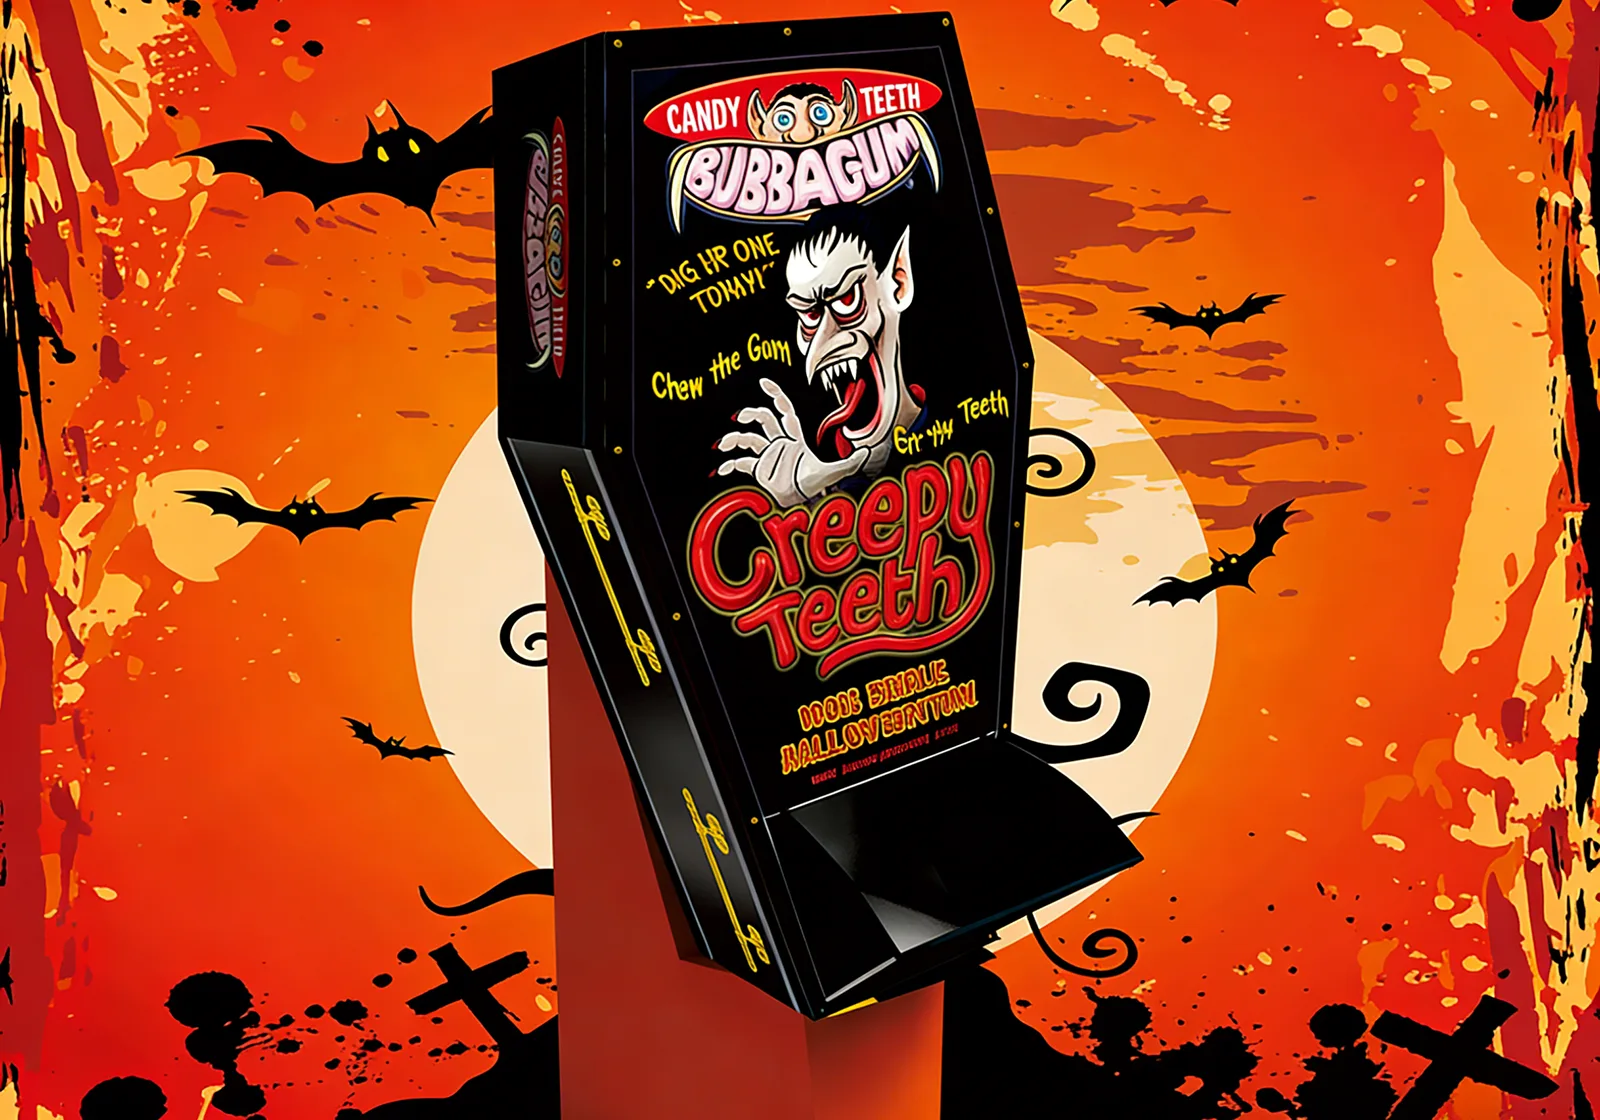
Floor-standing displays: High-visibility for large products or seasonal campaigns.
Gravity-fed bins: Efficient for bulk items (e.g., toys, snacks).
Shelf talkers/wobblers: Low-cost add-ons to enhance existing shelf space.
2) Prioritize Usability: Will shoppers access products easily? Is it self-service-friendly? For retail staff, ensure assembly is intuitive (aim for 5 minutes or less) and no tools are required.
3) Incorporate Brand-Forward Features: Add custom touches like product windows, branded dividers, or QR code integration (for digital storytelling) to make the display unique to your brand.
Kingwin's engineering team partners with you here—we balance creativity with structural integrity, ensuring the design holds product weight, withstands retail traffic, and fits manufacturing feasibility.
Step 3: Select Materials for Durability & Brand Fit
Corrugated material choice impacts performance, cost, and perception—don't cut corners here:
Corrugated Flute Grades
1) B-Flute: Thin, rigid, and perfect for high-quality printing—ideal for small countertop displays or lightweight products.
2) E-Flute: Smooth surface for fine graphics + moderate strength—great for beauty, electronics, or premium goods.
3) BC/Double-Wall Flute: Superior load-bearing capacity (supports 20+kg) for large floor displays or heavy products (e.g., 3C accessories, home goods).
4) FSC-Certified Options: For sustainable brands, choose FSC-certified corrugated to align with eco-values and consumer demands.
Protective & Aesthetic Enhancements
A.Lamination (matte/glossy): Boosts scuff-resistance and premium feel.
B.Waterproof coatings: Essential for grocery, pet, or outdoor retail environments.
C.Embossing/debossing: Adds texture for luxury or tactile brands.
Step 4: Design Graphics & Messaging That Convert
Your display's visuals are its first impression—make them count:
1) High-Impact Imagery: Use professional, high-resolution photos or illustrations that highlight product benefits (e.g., a close-up of a durable toy or a luxurious skincare texture).
2) Concise, Scanable Copy: Keep text short—shoppers spend 3 seconds or less glancing at displays. Focus on key value props (e.g., “25% Off" or “Eco-Friendly") instead of long descriptions.
3) Brand Consistency: Match colors, fonts, and logos to your brand guidelines—this reinforces recognition and trust.
4) Clear Call-to-Action (CTA): Guide behavior with actionable phrases: “Grab Yours!", “Scan for a Free Sample", or “Limited Stock—Don't Miss Out".
5) Digital Integration: Add QR codes linking to product demos, reviews, or social media—turn in-store engagement into online loyalty.
Step 5: Finalize Diecut lines & Technical Specifications
This is the “behind-the-scenes" step that ensures your display assembles perfectly:
- Precision Diecut lines: A diecut line is a digital template outlining every cut, fold, perforation, and glue tab. Accuracy here prevents misalignments, gaps, or assembly frustration.
- Bleed & Safety Zones: Extend graphics 3-5mm beyond the cut line (bleed) to avoid white edges; keep critical text/logos within safety zones (10mm from cuts) to prevent trimming.
- Kingwin's Technical Review: Our design team audits diecut lines for manufacturability, checking for structural weaknesses, print alignment issues, or compliance with retail guidelines.
Step 6: Prototype, Test, and Refine
Never skip prototyping—this step saves time, money, and headaches:
- Structural Testing: Verify the display holds product weight, stays stable (no tipping!), and withstands daily handling (e.g., shopper touches, staff restocking).
- Assembly Test: Have retail staff or team members assemble the display—if it takes longer than 5 minutes or requires guesswork, simplify the design.
- User Experience (UX) Test: Walk through the shopper journey: Does the display catch your eye? Is the messaging clear? Can you easily access the product?
- ISTA Compliance (If Needed): For shipping-sensitive displays, test against ISTA standards to ensure they survive transit without damage.
Step 7: Produce, Kit, and Deliver
With the prototype approved, it's time to scale production—Kingwin handles the heavy lifting:
- High-Quality Printing: Choose digital printing for short runs (500-1,000 units) or litho-laminating for large orders (10,000+)—both deliver crisp, vibrant graphics.
- Precision Die-Cutting: Computer-controlled die-cutters ensure every display matches the diecut line exactly.
- Kitting & Logistics: We can pre-fold, bundle, and label displays for easy assembly; ship directly to retail locations or warehouses, with tracking and on-time delivery guarantees.
Ready to Bring Your Custom Corrugated Display to Life?
Designing a high-impact corrugated display is a mix of creativity, strategy, and technical expertise. By following this playbook—and partnering with a manufacturer that understands retail, structure, and brand—you'll create a display that doesn't just hold your product, but sells it.
At Kingwin, we're with you every step: from brainstorming goals to delivering final displays. Our 16 years of experience, FSC-certified materials, and end-to-end service ensure your display is durable, visually stunning, and engineered for retail success.
Let's turn your vision into a display that stands out, drives sales, and elevates your brand. Contact Kingwin today for a free design consultation!